
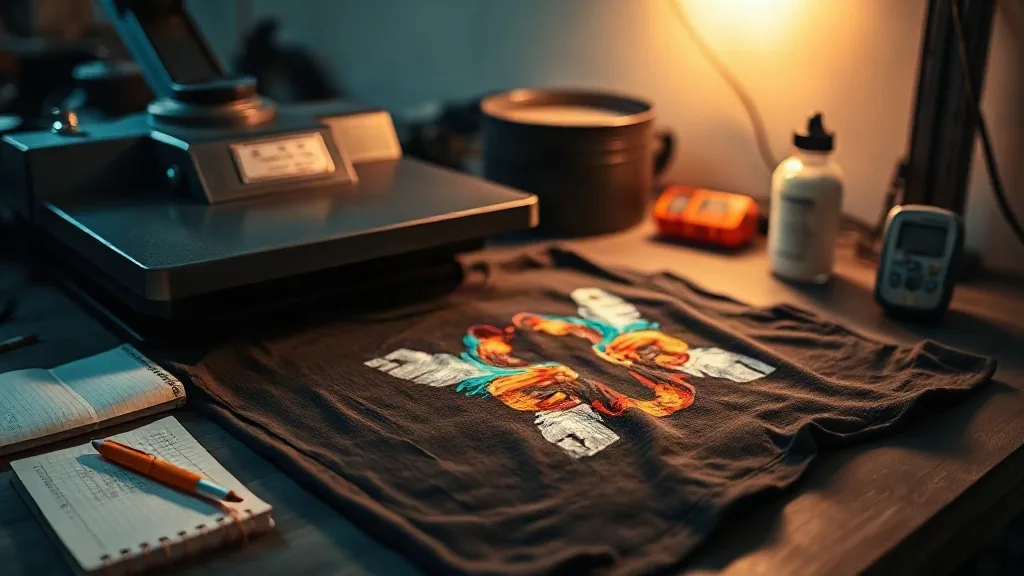
Every print shop has that one order where everything looks right until the shirt comes off the press and the corner of the design lifts under a thumbnail. The film was fresh, the powder looked even, the settings matched last week. So what changed? In most cases, nothing about the dtf transfers themselves. The failure lives in a variable nobody logged, and the fastest way to find it is to stop guessing at causes and start reading symptoms.
This guide takes the opposite approach to most troubleshooting write-ups. Instead of listing every setting in order, it starts with what you actually see on the garment and works backward. That is how experienced operators diagnose a failed dtf press in under two minutes, and it is a method you can teach to anyone running your second press.
Why symptom-first troubleshooting beats checklist troubleshooting
A checklist assumes you know which setting drifted. It also assumes the same order of operations every time, which rarely matches how a real shop day unfolds. Symptom-first thinking flips the logic: the garment tells you which subsystem failed, and each subsystem has only a handful of suspects.
There are really four subsystems in a dtf workflow: the print (ink laydown and color), the powder and cure, the press (heat, pressure, time), and the fabric itself. Almost every failure traces to exactly one of them. Once you learn to sort symptoms into those buckets, troubleshooting stops being a hunt and becomes a short conversation with yourself.
One habit makes this work: keep a press log. Not a formal spreadsheet, just a notebook with date, film batch, powder batch, press temperature, time, pressure, fabric, and result. After two weeks you will have enough data to spot drift before it becomes a ruined order. Shops that log rarely call a failure a mystery, because the answer is usually three lines up the page.
Peeling and lift-off: the press or the fabric, not the film
Partial peel after a cool-down is the most reported dtf problem, and it is also the most misdiagnosed. Operators often blame the film batch and switch suppliers, then watch the same peel happen with new stock. That is a strong signal the issue is downstream of the print.
Check pressure distribution before anything else
A heat press that reads 320°F at the platen does not guarantee 320°F at the edges of a 14-inch design. Worn silicone pads, a slightly warped upper platen, or a shirt seam sitting under the print all create low-pressure zones. Peel almost always starts in those zones. Test by pressing a transfer on a plain cotton tee with no seams, then pressing the same design across a side seam. If the seam version peels and the flat version does not, your press is fine and your placement is the problem.
Fabric finish is a hidden variable
New garments often carry a mill finish or a softener that blocks adhesion. A five-second pre-press at 330°F to drive off moisture and surface residue fixes more peel complaints than any setting change. Heavier fabrics with a tight weave also need slightly more time, not more temperature, because raising heat can scorch while the adhesive is still setting.
Cool-down rules matter more than people admit
Peeling a transfer while it is still warm pulls adhesive away from the fibers before it has fully bonded. Let the garment cool flat, and if you must handle it quickly, use a cold peel only if the film spec sheet says so. Mixing hot-peel and cold-peel habits across a shift is a quiet source of inconsistent results.
Cracking, dull whites, and ghosting: read the powder and cure
If a print looks milky, feels sandy, or cracks along a fold after a few washes, the press is usually innocent. These symptoms point at powder application and curing, the step most likely to drift because it depends on hand feel rather than a dial.
- Dull or gray whites: powder applied too thin, or shaken off too aggressively before the cure. The adhesive layer needs enough powder to fuse into a solid film.
- Sandy, gritty texture: excess powder that never fully melted. Reduce application and confirm your oven or shaker is not dumping powder in clumps.
- Cracking along stretch lines: under-cured powder. The film never reached full coalescence, so it behaves like a brittle coating instead of a flexible one.
- Ghosting or a faint halo around the design: powder scatter on the film carrier sheet. Wipe the sheet edge and check your reclaim station.
A simple cure check that costs nothing: after the powder melts, the film surface should look glossy and uniform, with no visible grain. If you can still see individual particles, keep curing. Shops that judge cure by time alone rather than by appearance tend to ship a batch that passes a fingernail test on day one and cracks on the third wash.
Color shifts that only appear after pressing
A print that looks correct on the carrier sheet and wrong on the shirt is not a color management failure in the usual sense. It is a contrast problem caused by the white ink layer underneath, and it behaves differently on every fabric.
On dark garments, a thin white base lets the shirt color bleed through and pushes blues toward purple and reds toward brick. On light garments, an overly thick white base makes colors look chalky. The fix is not a new ICC profile. It is a consistent white laydown, checked visually by holding the cured film against a window. If you can see the shirt through the white, it is too thin for that fabric.
Textured fabrics add a second layer of difficulty. Heathers and slub knits have surface variation that changes how much white ink contacts the garment. When someone searches for dtf transfers near me after a run of heather tees came out patchy, the answer is usually pressure and white laydown working together, not a defective roll of film.
A five-minute diagnostic routine for the press area
Build this into the start of every shift and most failures never reach a customer. It takes less time than refilling a powder shaker.
- Press a scrap transfer on a plain cotton swatch and inspect the cooled result under good light.
- Check the press platen for residue buildup, which silently changes pressure across the surface.
- Confirm the powder station is dry and the film is not pulling moisture from the air.
- Verify the temperature with an infrared gauge rather than trusting the display.
- Log the batch numbers and settings used for the first job of the day.
None of these steps require new equipment. They require the discipline to treat the press area as a controlled environment rather than a bench where things happen. Shops that do this report fewer remakes, and remakes are where margin disappears.
When to blame the transfer and when to blame the process
Sometimes the film really is the problem. A bad batch usually fails in a recognizable pattern: consistent defects across different fabrics, different operators, and different press settings, often within the same roll. If three unrelated jobs from one batch fail the same way, isolate that batch and contact your supplier with photos and batch numbers.
If failures scatter across batches and fabrics, the process is the culprit. That is good news, because process problems are fixable without waiting on a shipment. The symptom-first method gets you to the right conclusion quickly, and the press log proves it to yourself and to anyone else who runs the equipment.
Frequently asked questions
Why does my DTF transfer peel at the corners but stick everywhere else?
Corner peel almost always points to uneven pressure. Check for a worn platen pad, a seam under the print, or a design placed too close to the garment edge where the press cannot apply full force. Re-test on a flat cotton swatch before changing any temperature settings.
How can I tell if my transfer is under-cured without washing a shirt?
Look at the film surface after the powder melts. A properly cured print looks glossy and continuous. If you can still see grain or individual powder particles, it needs more time or heat. You can also fold the cooled film sharply; a brittle crack line indicates under-cure.
Do DTF transfers fail more often on certain fabrics?
Heavy canvas, tight-weave synthetics, and textured heathers are the most demanding. They need a longer pre-press and slightly more dwell time rather than higher temperature. Smooth cotton is the most forgiving, which is why it makes a good control swatch for diagnostics.
Why do my colors look different after pressing than they did on the film?
The white ink layer changes how colors read against the garment. A thin white base lets dark fabric shift the hue, while an overly thick base makes colors look flat. Aim for a consistent, opaque white and evaluate color on the pressed garment, not on the carrier sheet.
How often should I check my press temperature?
At the start of every shift and after any long idle period. Press displays drift, and a difference of ten degrees is enough to change how a transfer bonds. An inexpensive infrared gauge is one of the highest-return tools in a small print shop.