
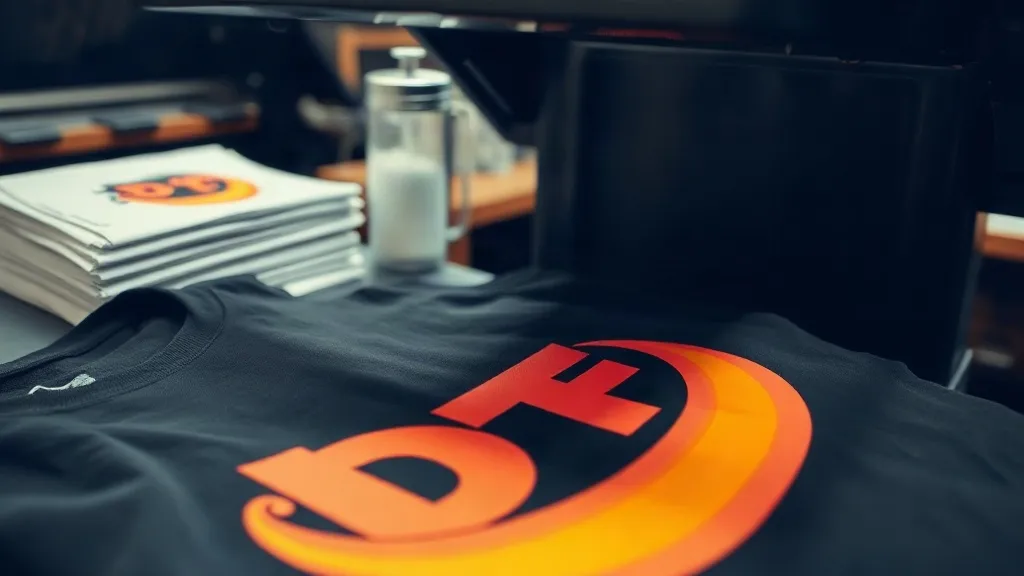
When you first start working with dtf transfers, the process can feel like a puzzle with too many pieces. Between choosing the right film, applying powder, and pressing at the correct temperature, there are countless variables that affect the final result. But once you understand how each step influences the others, you gain control over the outcome and can produce consistent, professional-grade prints every time. This guide walks you through the entire DTF workflow, from selecting materials to troubleshooting common issues, so you can achieve vibrant, durable transfers that withstand repeated washing and stretching.
Understanding the DTF Transfer Process
DTF, or direct-to-film, is a printing method where designs are printed onto a special film, coated with adhesive powder, and then heat-pressed onto fabric. Unlike DTG or screen printing, dtf works on a wide range of materials, including cotton, polyester, blends, and even nylon. The process involves several key steps: printing the design onto film, applying hot melt powder, curing the powder, and finally pressing the transfer onto the garment.
Each step requires attention to detail. For instance, if the powder isn't applied evenly, you'll get patchy adhesion. If the press temperature is off, the design may peel or crack. The good news is that with a systematic approach, you can minimize errors and produce reliable results.
Choosing the Right Film and Powder
The quality of your dtf transfers starts with the materials. Not all films are created equal. A good DTF film should have a consistent coating that releases the ink cleanly and holds the powder effectively. Look for films that are compatible with your printer's ink type (usually pigment-based). Cheaper films may save you money upfront but often lead to inconsistent results, such as ink smudging or poor powder adhesion.
Powder is equally critical. Hot melt powder comes in different mesh sizes, typically 80 to 200 microns. Finer powders (higher mesh) give a softer hand feel, while coarser powders provide stronger adhesion on rough fabrics. For most applications, a 100-120 micron powder offers a good balance. Always store powder in a dry environment; moisture can cause clumping and uneven application.
Film Types: Cold Peel vs. Hot Peel
DTF films are available in cold peel and hot peel varieties. Cold peel films require the transfer to cool completely before peeling, which often results in a smoother, more matte finish. Hot peel films can be peeled immediately after pressing, speeding up production but sometimes leaving a slightly glossier surface. Your choice depends on your workflow and the desired finish. For high-volume shops, hot peel films can improve efficiency, but cold peel films are more forgiving for beginners.
Step-by-Step DTF Transfer Application
To achieve flawless results, follow these steps carefully. Adjust settings based on your specific equipment and materials, and always perform a test press on a scrap garment.
1. Printing the Design
Start with a high-resolution image (300 DPI is standard). Ensure your printer is calibrated and the ink levels are sufficient. Print the design onto the film's coated side (usually the matte side). If you're using a roll printer, make sure the film is loaded correctly to avoid jams. After printing, inspect the film for any missing nozzles or banding; these will show up in the final transfer.
2. Applying Powder
While the ink is still wet, sprinkle the hot melt powder evenly over the design. You can use a powder shaker for better control. Gently shake off excess powder; a light, even coating is all you need. Too much powder can lead to a stiff, plastic-like feel and may cause the transfer to crack. Then, cure the powder using a heat gun or in an oven at around 100-120°C (212-248°F) for 2-3 minutes, or until the powder melts and becomes glossy. Do not over-cure, as this can degrade the adhesive.
3. Pressing the Transfer
Set your heat press to 150-160°C (300-320°F) with medium pressure (about 3-4 bar or 40-60 PSI). Place the garment on the press, pre-press for 3-5 seconds to remove moisture, then position the transfer with the powder side down. Press for 10-15 seconds. If using a cold peel film, remove the garment and let it cool completely before peeling the film. For hot peel, peel immediately in a smooth, continuous motion.
After peeling, it's a good practice to post-press the transferred area for another 5 seconds with a Teflon sheet or parchment paper to enhance adhesion and smooth the finish.
Common DTF Problems and How to Fix Them
Even with careful preparation, issues can arise. Here are some of the most frequent problems and their solutions.
Peeling After Washing
If your transfer peels after washing, it's usually due to insufficient pressure, incorrect temperature, or under-cured powder. Ensure your press is applying even pressure across the platen; check with a pressure gauge. Also, verify that the powder is fully melted before pressing. Washing the garment inside out in cold water and avoiding fabric softener can extend the life of the print.
Cracking
Cracking often occurs when the transfer is stretched or when too much powder was applied. Use a finer powder and ensure the design is not over-stretched during pressing. Also, pre-stretch the garment slightly before pressing to accommodate fabric movement.
Faded Colors
Fading can result from improper curing of the ink or using low-quality film. Make sure your printer's ink is properly cured according to the manufacturer's recommendations. Additionally, store transfers in a cool, dry place away from direct sunlight to prevent degradation.
Patchy Adhesion
Patchy adhesion is typically caused by uneven powder application or insufficient pressure. Use a powder shaker for even distribution and check that your press's pressure is consistent. If the problem persists, try increasing the press time slightly.
Finding DTF Transfers Near You
If you're looking to outsource your DTF printing or need supplies, searching for dtf transfers near me can help you locate local providers who offer quick turnaround and personalized service. Supporting local businesses also allows you to build relationships and get expert advice tailored to your needs.
Frequently Asked Questions
How long do DTF transfers last?
With proper application and care, DTF transfers can last as long as the garment itself, often 50+ washes. Washing inside out in cold water and avoiding high heat in the dryer will maximize longevity.
Can I use DTF transfers on dark fabrics?
Absolutely. DTF transfers include a white ink layer that provides a bright base, making them ideal for dark and colored fabrics. The white layer ensures colors pop and remain vibrant.
What is the best temperature for pressing DTF transfers?
Most DTF transfers press best at 150-160°C (300-320°F) with medium pressure for 10-15 seconds. Always check the film manufacturer's recommendations, as some films may require slightly different settings.
Do I need a special printer for DTF?
Yes, DTF printing requires a printer that uses pigment-based inks and is compatible with DTF film. Many converted inkjet printers are available, or you can purchase a dedicated DTF printer. Alternatively, you can order pre-printed transfers from a service.
How should I store unused DTF transfers?
Store them in a cool, dry place, away from direct sunlight and moisture. Keep them flat to prevent creasing. Properly stored transfers can last for several months without significant loss of quality.